Welcome to taosastronomer.com!
offering
local "hands-on" observing
(visual and imaging) sessions and instruction
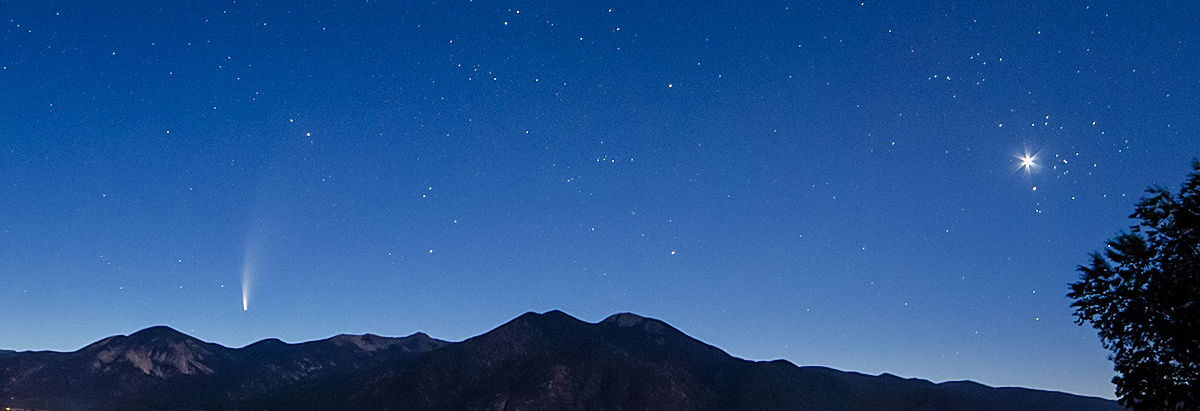
viewing and imaging from Rabbit Valley Observatory
a dark sky location on the mesa just west of Taos, NM
 |
 |
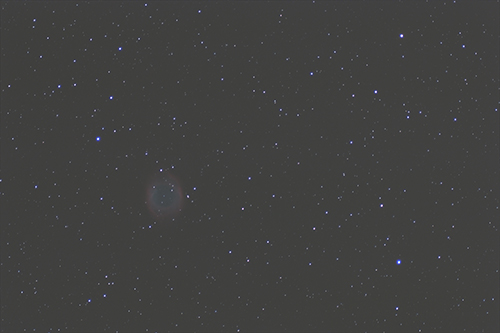
Helix Nebula (NGC 7293) / after stacking and combining in DeepSkyStacker software but before any output or post-processing. I've linked several times to either DSS's download website or to on-line tutorials that may be helpful. |
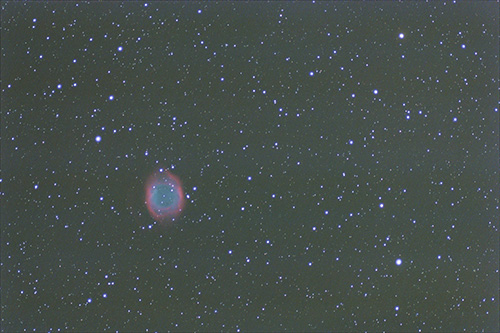
Helix Nebula (NGC 7293) / after stacking and combining in DeepSkyStacker software and after adjusting the saturation tab (20% in this case) but before any additional output or post-processing in Photoshop CS3. |
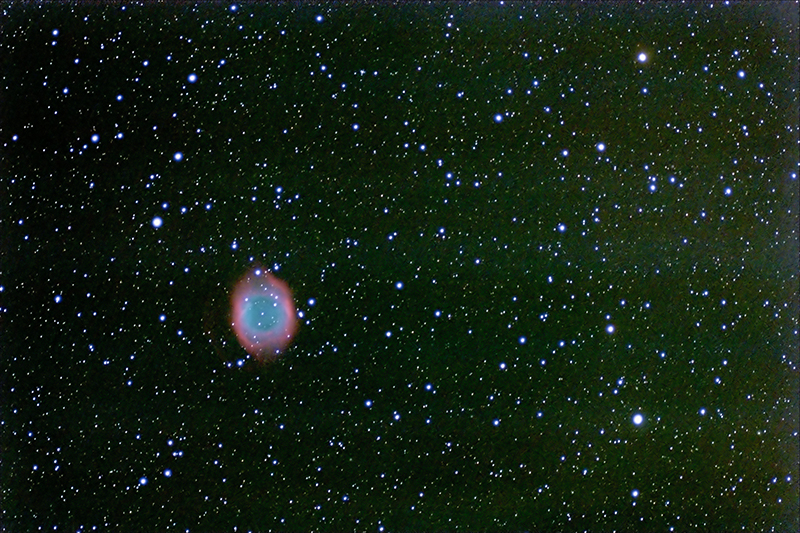 |
Helix Nebula (NGC 7293) / after stacking and combining in DeepSkyStacker software after adjusting the saturation tab (20% in this case) and also after additional post-processing in Photoshop CS3. Various filters and actions were then taken within Photoshop, including adjustments using the "curves," "color balance," "levels," "exposure" and "anti-noise" tabs. An additional noise reduction program (Neat Image, linked here) was used via Photoshop CS3 plugin to reduce the background noise and soften the nebula's edges. To demonstrate this effect and result, rollover the image above to observe the noisier image below the manipulated, cleaner view. [Pay particular attention and concentrate on the nebula's edge appearance; the background color noise (generally green in this image) has also been diminished, hopefully without losing important fine detail.] This final horizontal result is profoundly different than the originals out of the Canon camera; these results certainly a testament to the advances in photography during the digital age. Such adjustments were simply not possible even a decade ago! It should be additionally noted that, because of the long time-exposures at relatively high ISO settings, astronomical images always exhibit far more noise than typical digital "snapshots." In good measure, that's why such steps must be taken in post-processing. The Canon 450D XSi, an elegant and excellent unit, although it is NOT cooled. Dedicated and generally expensive astronomical cameras are electronically cooled, enabling them to output less noise, but at a price. Further, DSLR's like the Canon have far larger chips, allowing for large rich-field views as demonstrated above. |
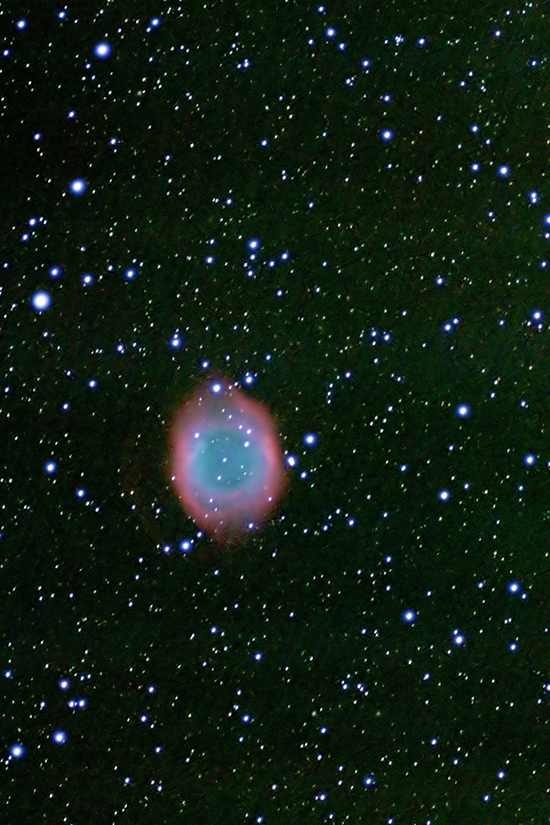 |
The image at this point was so sharp and free enough of digital noise that I decided it could be enlarged and cropped, more strongly featuring the subject/object, The Helix Nebula.
All of these actions are very subjective, raising the question of what is the true color and appearance of the astronomical object. My goal is to produce a relatively accurate and pleasing image of the subject. Hopefully this final image above represents that! |
|
To correctly and accurately view images such as those seen on this web site, it is important to adjust your computer or device's monitor to the neutral gray scale above. First of all, every sector seen above should appear to be shades of a neutral gray -- gradually moving from black to white -- further, each segment should be independently visible, not "oozing into" one another. When your device is correctly calibrated (not so difficult) you will be able to view the images as they were created and intended to be seen. |
(all content copyright 2015-2019 Willis Greiner Photography, all rights reserved)